I had a few question about my last papercut portrait, so here are some details. Unfortunately I didn't take photos of the process. I promise to do that with my next work and post it here.
This one is smaller than my usual size of work.
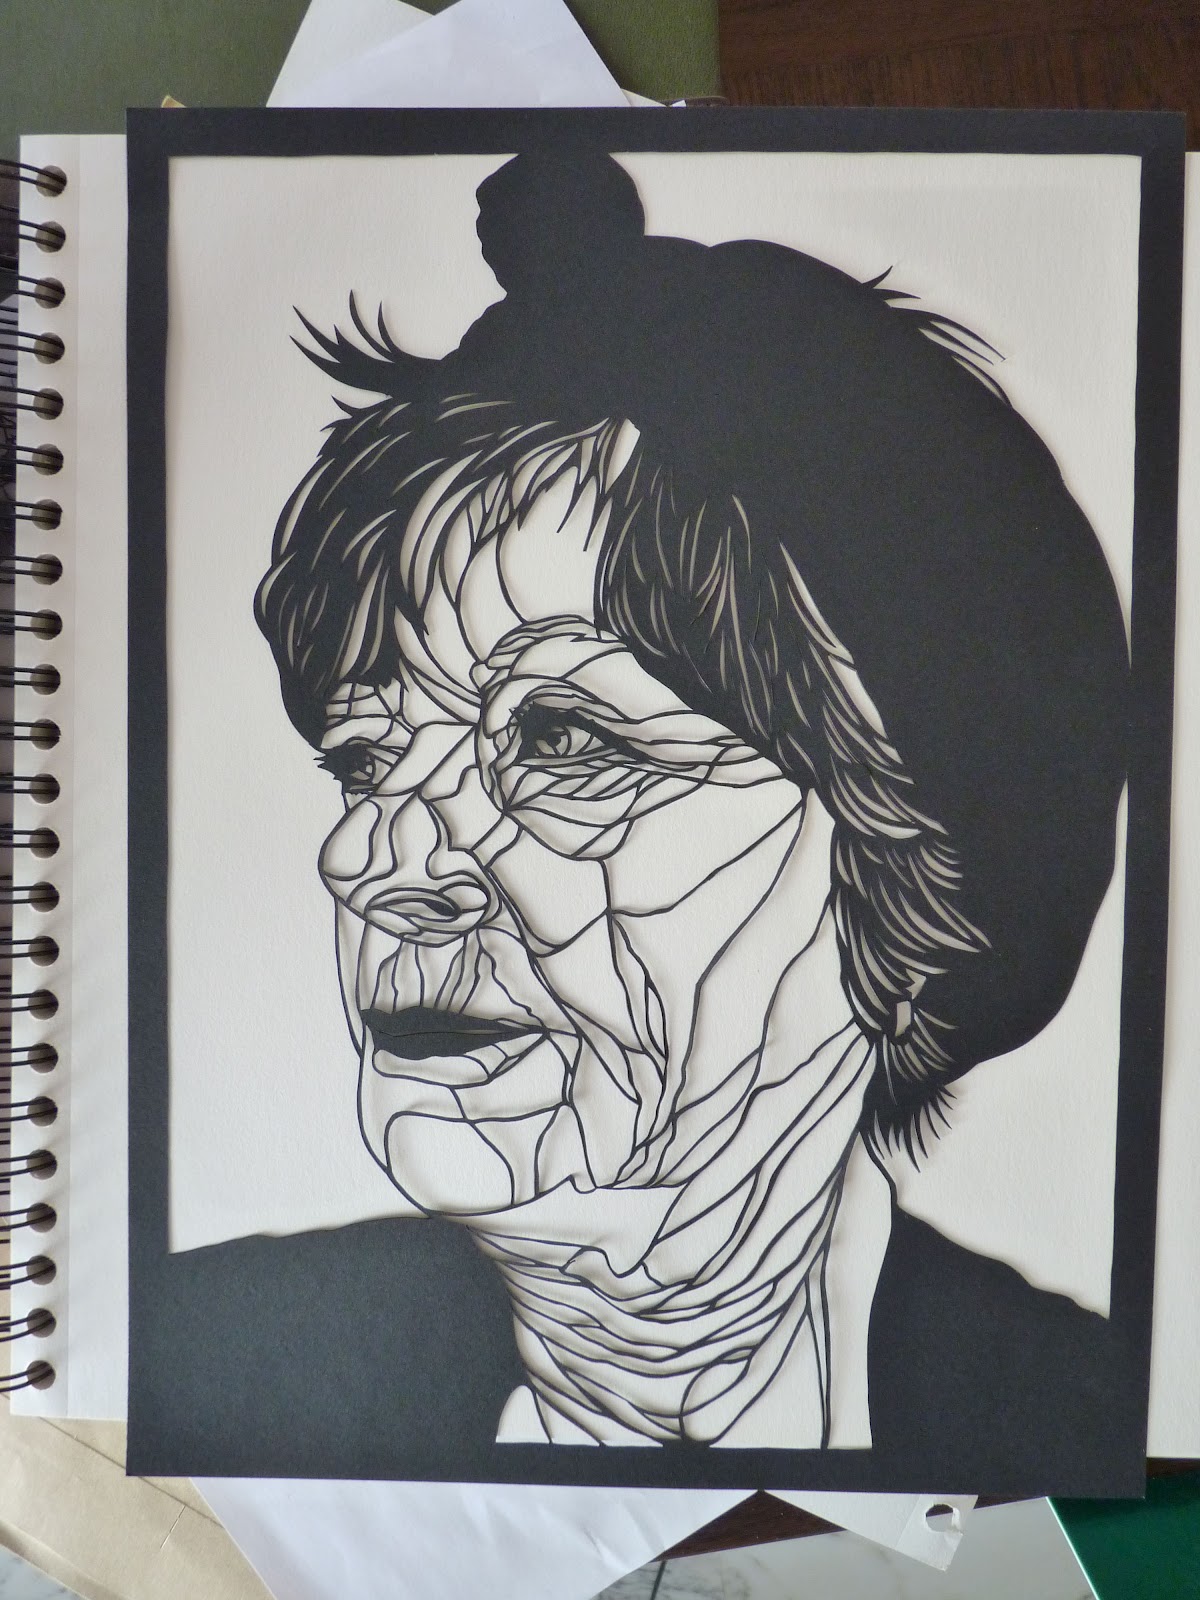
I used Canson black paper, 24x32 cm, 160 g/m2 (about 9.5x12.5 inches. I don't know how to convert the weight of the paper, but it is double in weight than the ordinary printer paper.)
After finishing the cutting it "screamed" for some color. So I painted with acrylic some blue shades on her hair dress. But it was not enough. I felt I needed to add some warmth to it.
Next step then, I painted some white paper with shades of yellows, reds and blue but it looked too flat. I then changed the background color to fit the shape of the portrait in a way that the portrait itself has warmer and sharper shades of yellow.
Hope the photo bellow help you to see better the process.
Showing posts with label step by step. Show all posts
April 20, 2012
Paper cut process
March 14, 2011
DAY 1 - Recording WIP
I have started a new piece in the Big series. This one is so far the biggest in the series.
At the moment I have no clue how it will end. All I know is that I want some kind of a 3D effect which I'll achieve by cutting her our of the Wedi board.
I painted the board roughly white so it will be easier to sketch her.
I have decided to make a "dynamic" contour. I cut randomly black glass using wheeled nippers. I don't plan the cuts. The curve is made naturally by the nippers. I'll cut a lot and then I'll choose the ones to use.


When I lay the contour I don't try to be precise. on the contrary, the "shaking" line and the imperfect connections make it very lively and cheerful.
At the moment I have no clue how it will end. All I know is that I want some kind of a 3D effect which I'll achieve by cutting her our of the Wedi board.
I painted the board roughly white so it will be easier to sketch her.


My first problem is the chin:

2 - chin in which is good, but it is too big
3 - this part of the chin is write
4 -this neck is too old
5 - finally the right chin and the the right neck
This process took about an hour.
In the following photos you can see how I do the knee -


A tip - I do the connection between the "tiles" with a diagonal cut and not a strait one. It matches better. I don't have a photos of that. I owe you one.
By the end of the day - 5-6 hours - this is what I managed to do:
Labels:
big series,
glass,
irit levy,
Mosaic,
progress,
step by step,
tips
Subscribe to:
Comments (Atom)